CONVENTIONS
QuickTIPs (and Links) are highlighted in blue.
Permission-based items are highlighted in red.
System navigation is italicized.
CREATING (AND MANAGING) EVENTS
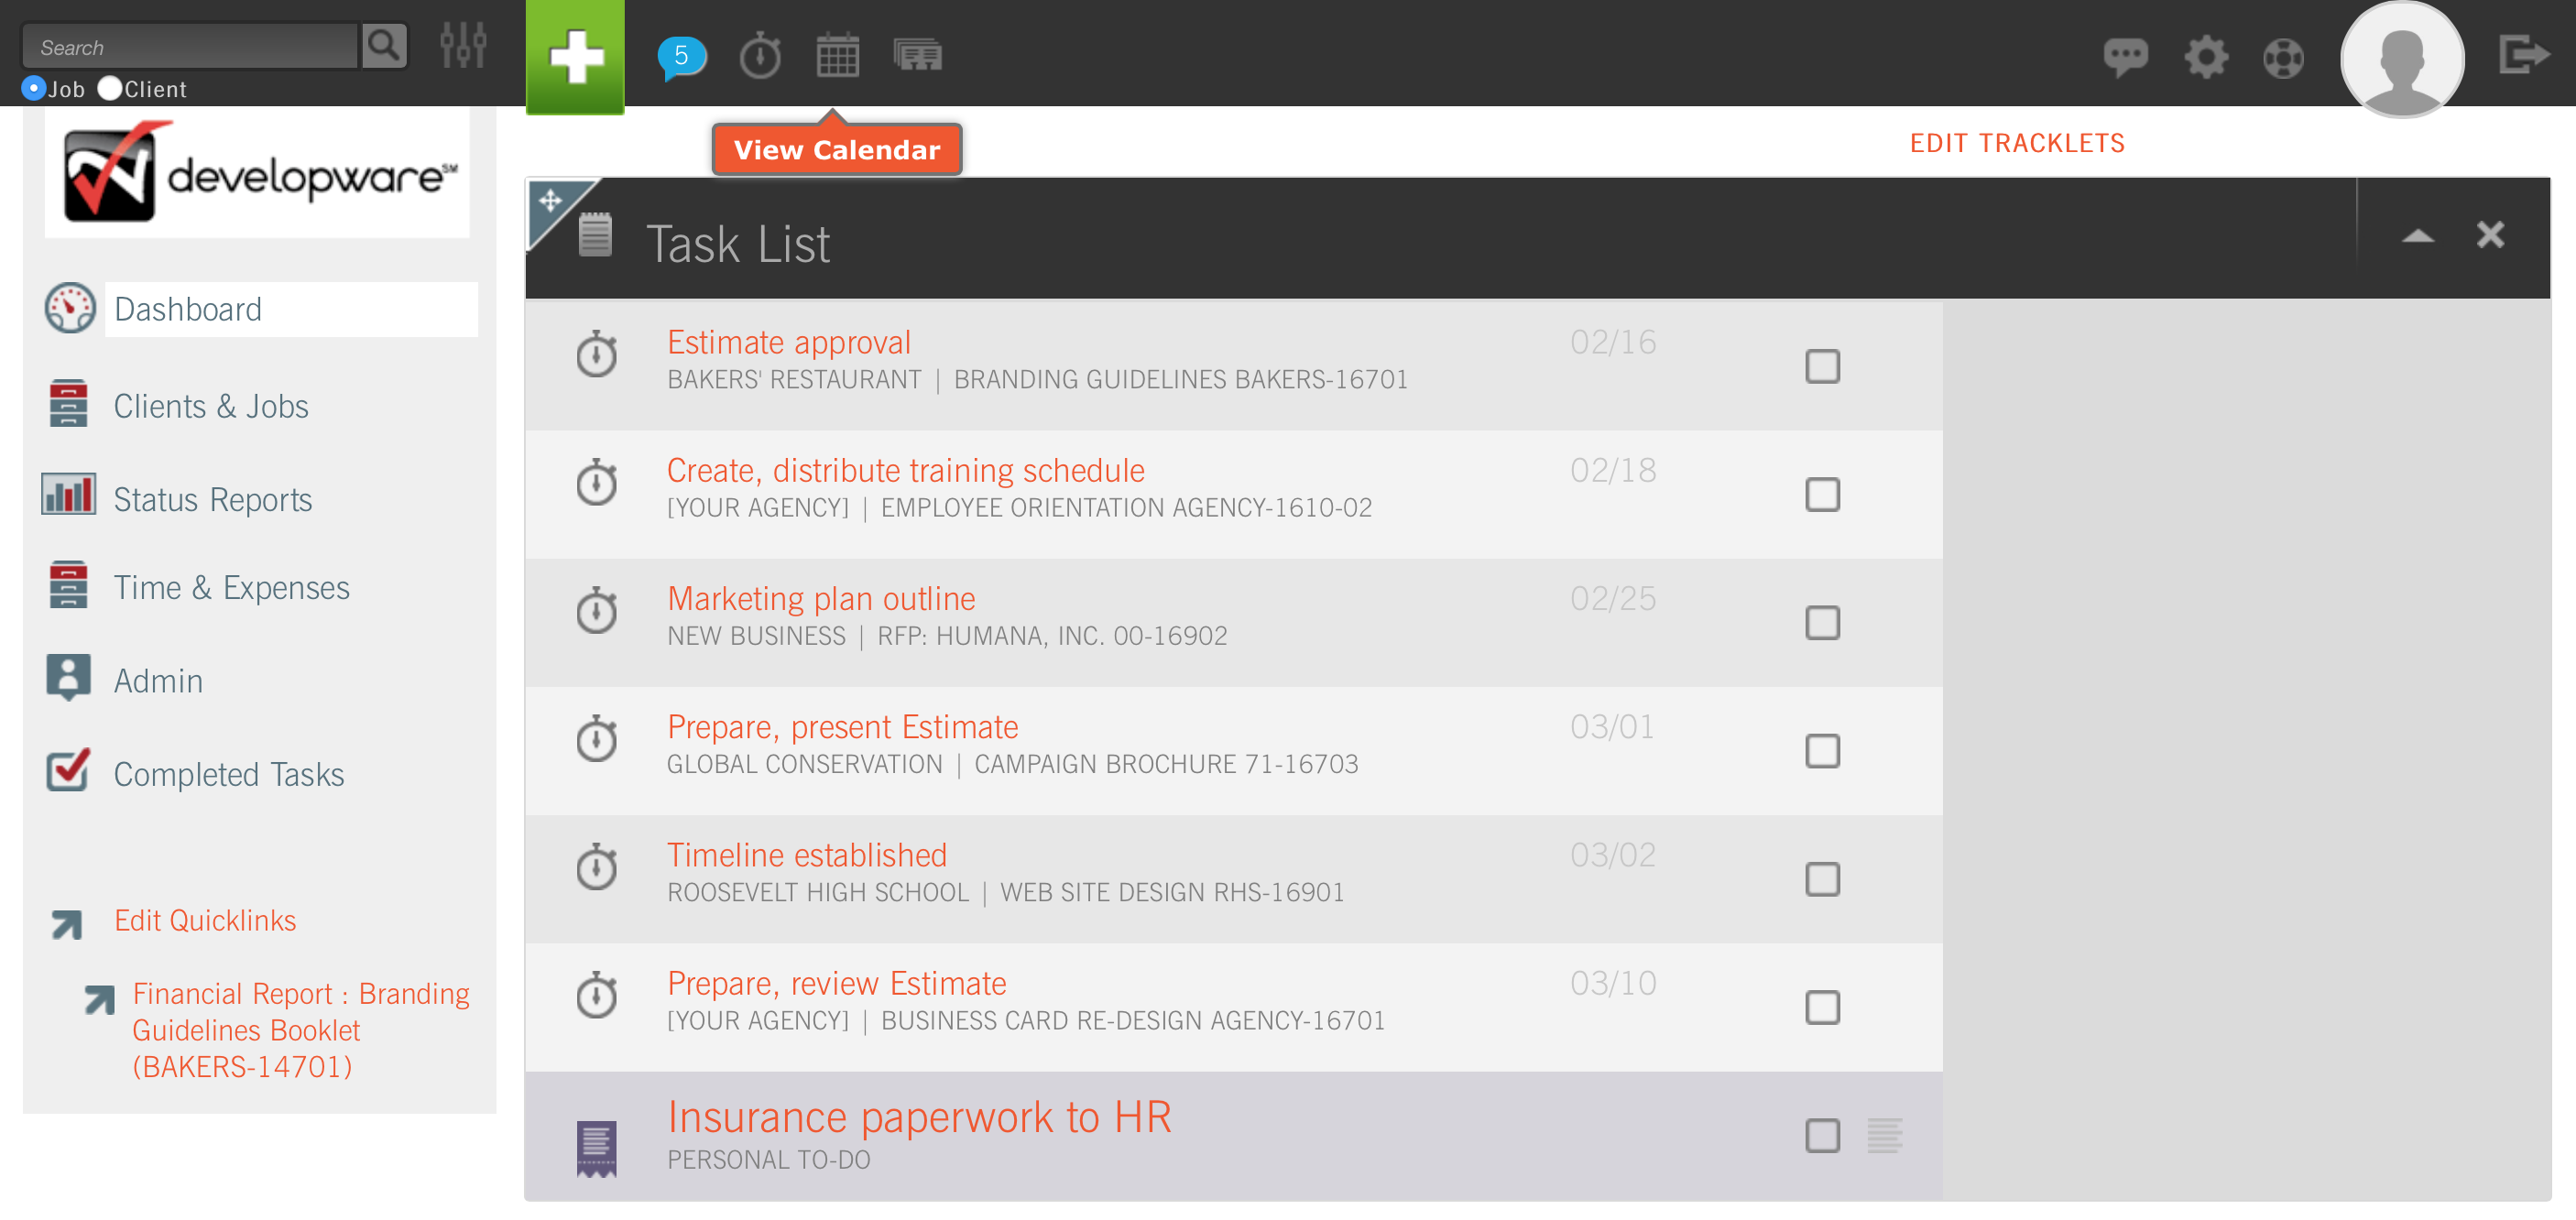
It’s possible to create or “add” an Event to your CurrentTrack® Calendar in a couple of different ways. You can click on the Calendar icon located at the top of the screen; then I Want To: Add an Event. Or, you can click on the Add link found within each date box of your Monthly Calendar view.

On the Add Event screen, enter the applicable Title, Location, Start Date, et. al for the Event.
TIP: Include “This meeting is mandatory,” in the Comments section. That way, Guests will know their attendance is required and adjust their schedules accordingly.

If you’d like the Event to appear as an un-timed Event on your Calendar, check the box beside No Time (Banner Event).
TIP: Make sure your computer’s clock is accurate at all times. CurrentTrack refers to it when submitting Events, running meeting alert checks, etc.
To include the Event on the overall Agency Calendar, check the box beside Agency Calendar.
TIP: Add your Vacation time to the Agency Calendar by creating an Event titled “Vacation – [Your Name].”
As is the case with the majority of CurrentTrack features, the ability to modify Calendar Resources is Permission-based. In order to make changes, an employee’s name must be included in the Permissions area, beside Manage Calendar.
To add an item to the Calendar Resources list, go to Admin — System Administration — Manage Calendar Resources. Enter the item you’d like added in the Resource to Add field; click Submit. The item will then appear in the Resources box within the Add Event screen.
To Edit an existing Resource, go to Admin — System Administration — Manage Calendar Resources. Choose the Resource to Edit from the drop-down menu and click Edit Resource.
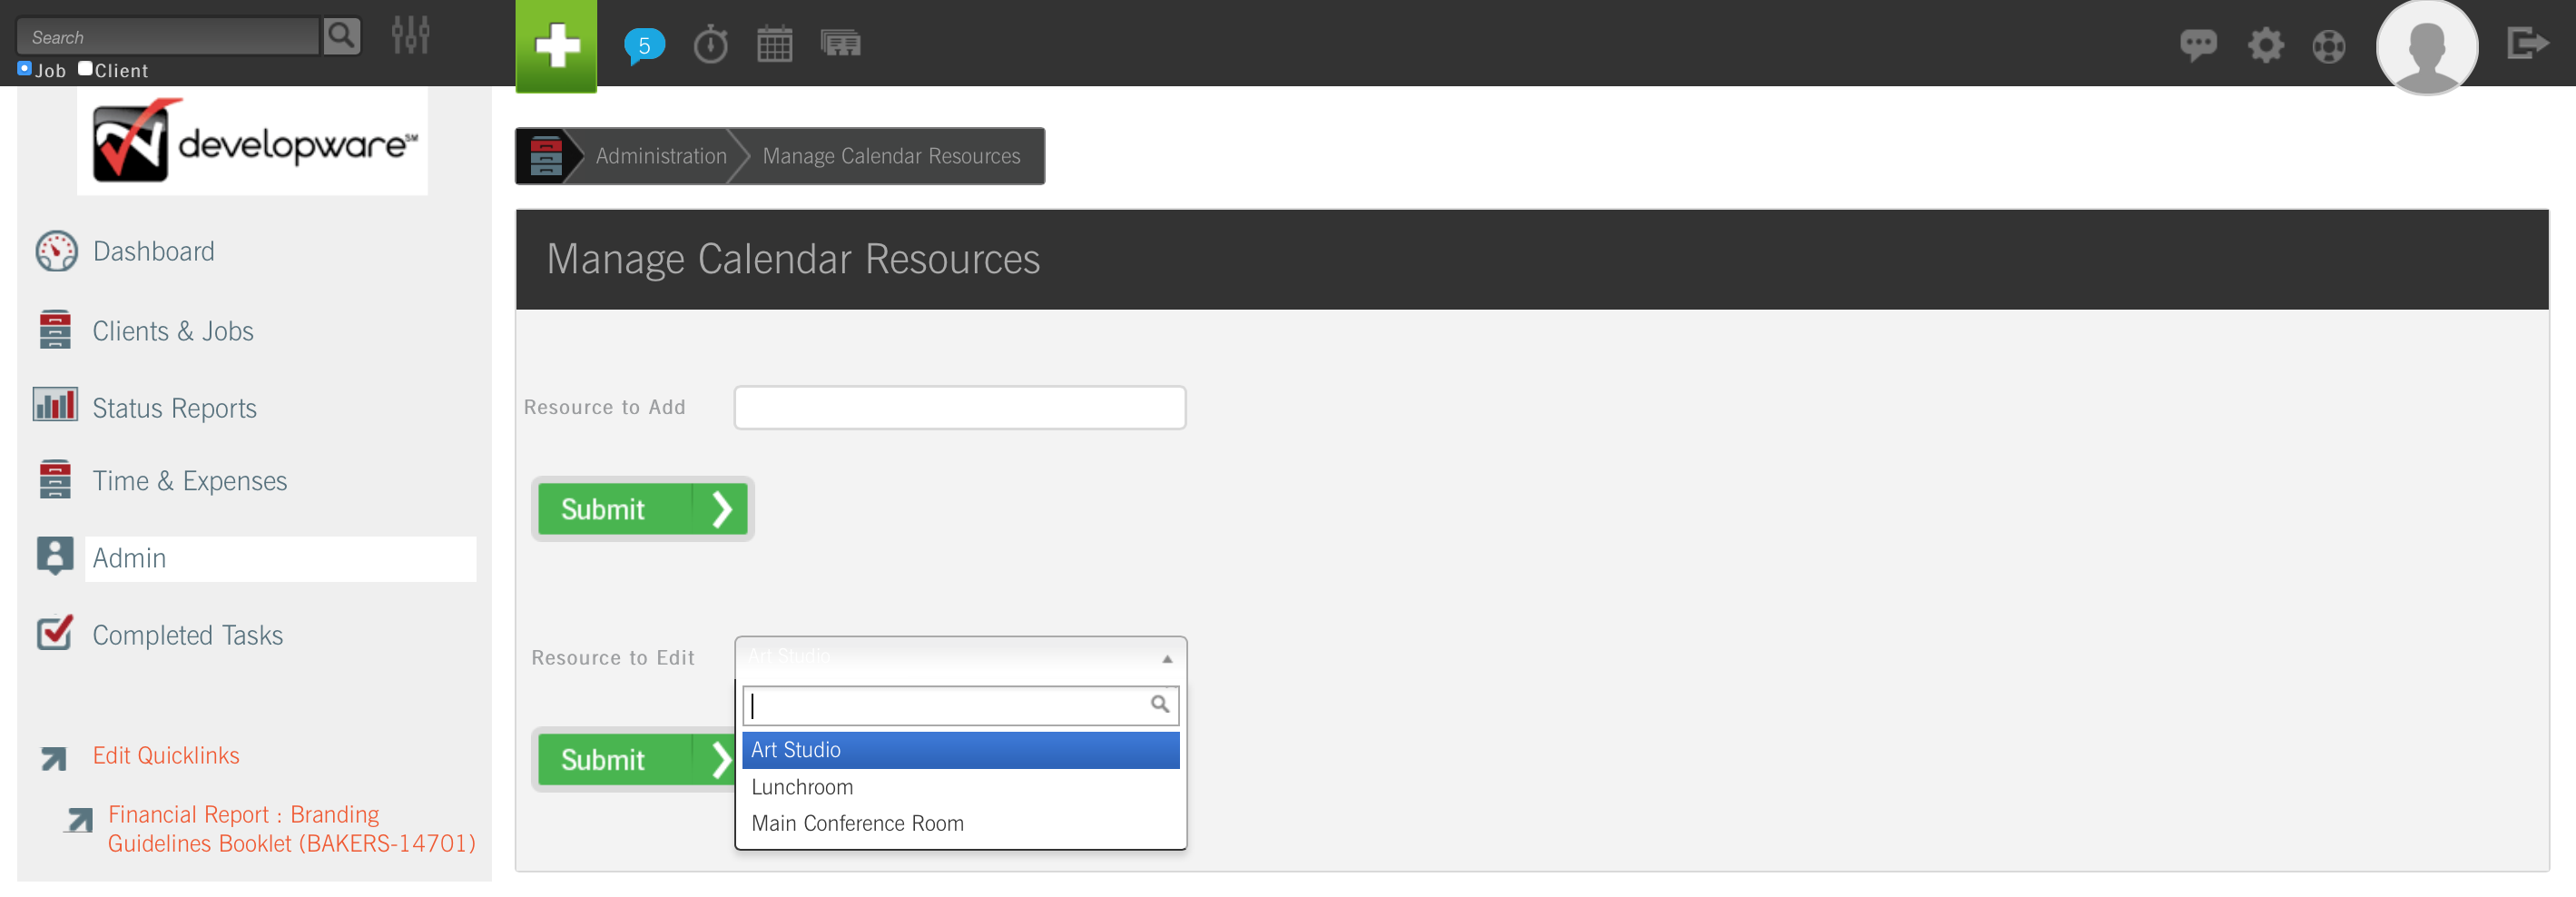
To Delete a Resource, go to Admin — System Administration — Manage Calendar Resources. Choose the Resource to Edit from the drop-down menu; click Edit Resource. Check the box beside Delete and click Submit. The item will automatically be removed from the Resource list.
A cc: invitee is not required to formally respond to an Invitation. The field is simply intended to serve as notification that an Event “not requiring your attendance” is taking place. However, if s(he) chooses to place the Event on his/her Calendar, you’ll receive notification via your Messages box that s(he) has been moved to the Guest list and is planning to attend.
TIP: Always cc: your Traffic Manager (or System Administrator) on Events involving Active jobs within your agency.
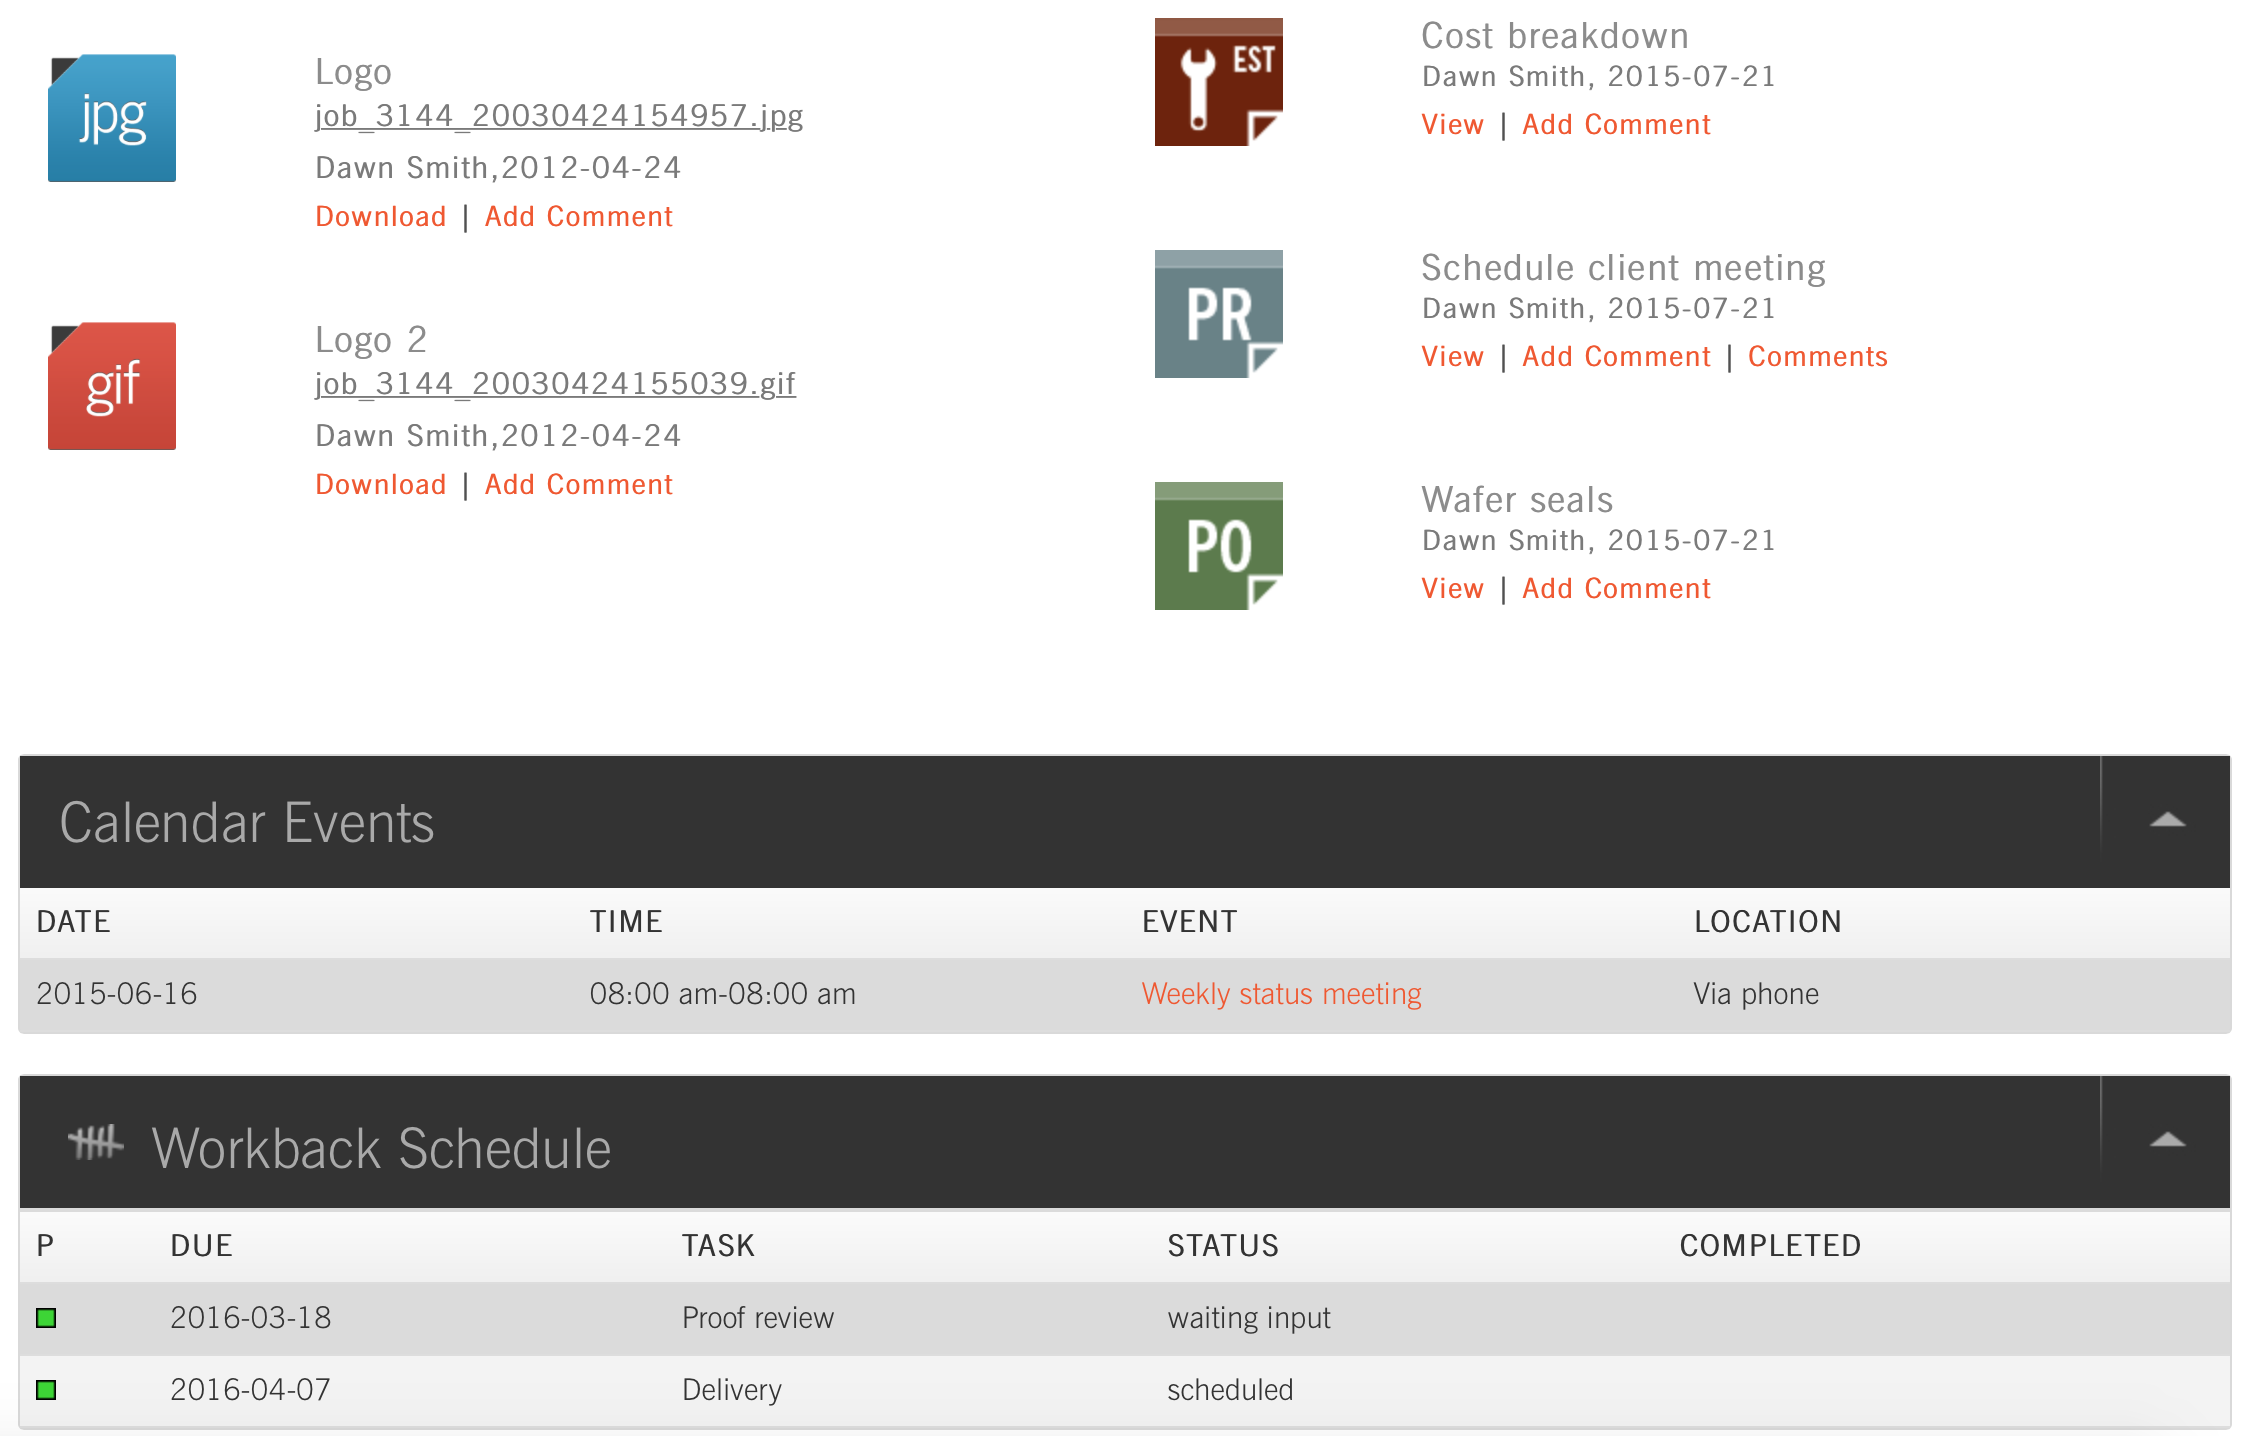
To make your Event viewable to the Client, via the Client Interface, simply check the box beside Client View and associate the Event with one (or more) of their respective Job Numbers. Once submitted, the Event will be distributed to all Guests and cc: invitees (if applicable). If the Event falls within the next seven days, it’ll appear within the Client’s CurrentTrack Calendar. Upon logging in to the Client Interface, they’ll see an additional box — Calendar Events — that includes a list of meetings, sorted by month, with links to the details of each. The Client View of an Event is similar to the cc: option within CurrentTrack in that it’s intended to serve as notification that an Event is taking place.

To label an Event on your Calendar “personal,” simply check the box beside Private on the Add Event screen. Once submitted, the Event will be viewable on your respective Calendar and by the Guests you’ve invited (if applicable). It’ll not, however, be viewable to other employees. They’ll simply see an item titled, “Private Event” when they access your Calendar.
If your Event will occur more than once, check the box beside Recurrence and enter the appropriate frequency. For example, will your Event take place every three days from the Start Date indicated? Every two weeks on Monday? Every month on the first Tuesday for the next six months? Be sure to indicate the date on which the Event’s Recurrence is to end within the Repeat Until box.

Once an Event is submitted, notification is sent to Guests and cc: invitees via their Unread Messages box.
To Accept or Decline a meeting Invitation, go to Calendar — Invitations.
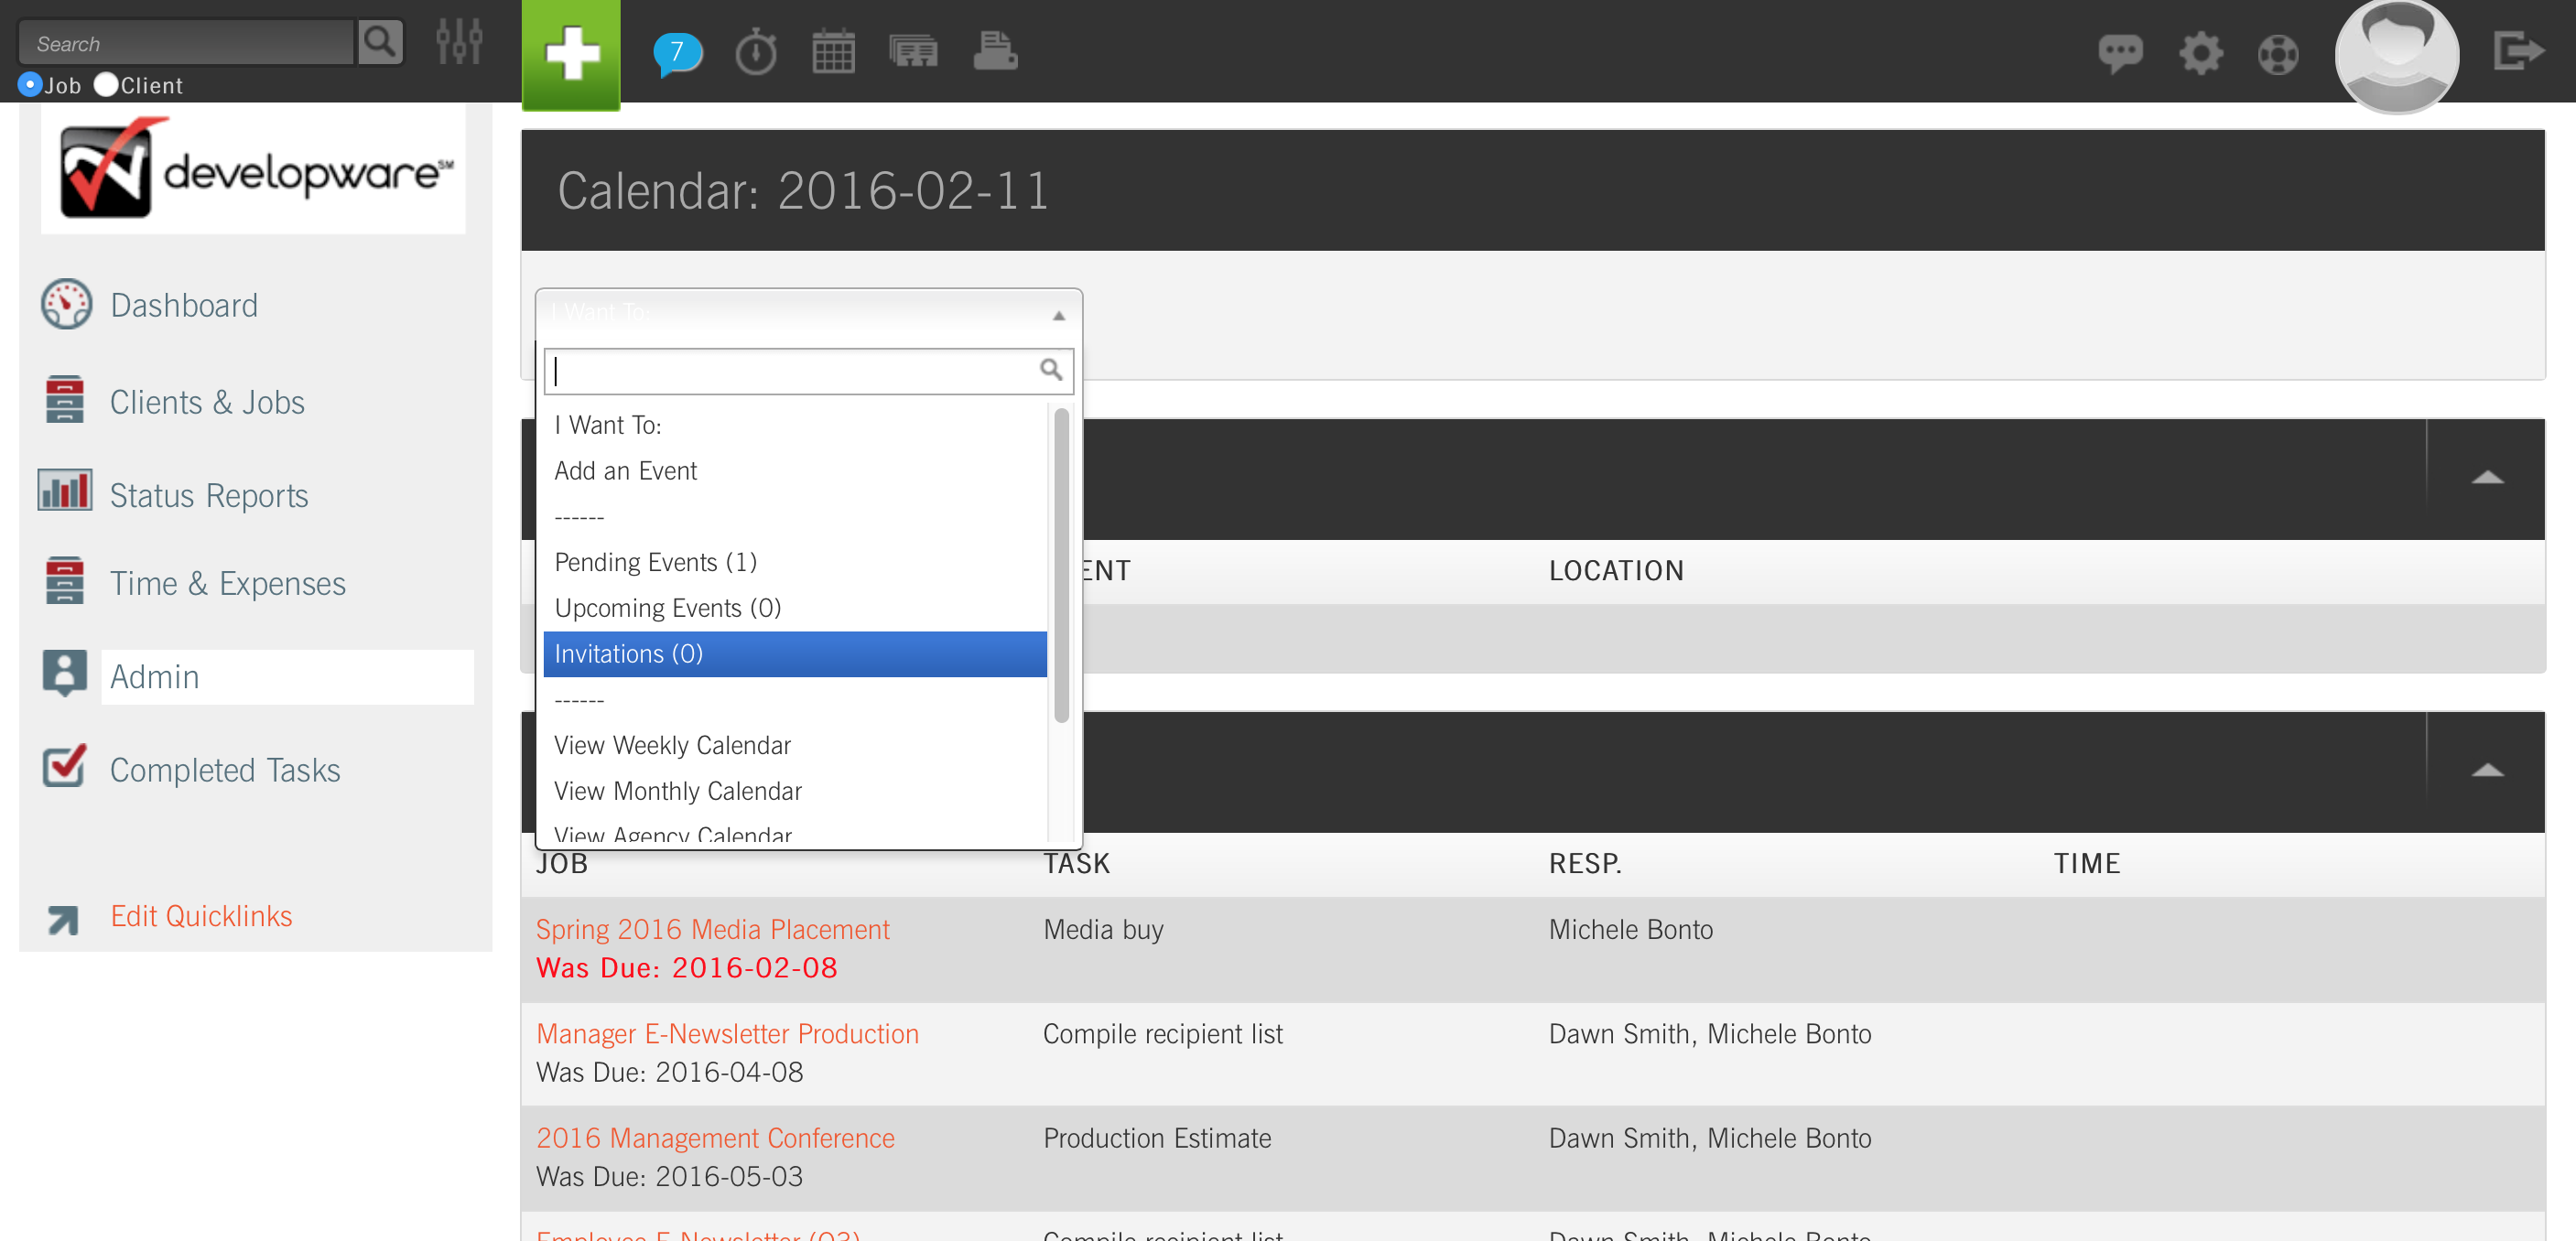
Once you’ve accepted an Event, it’ll be placed on your Calendar and its proposer will be notified of your intention to attend, via his/her Messages box. The Upcoming Events count, in the drop-down menu, is based on today’s date, not on its individual timeframes. As such, the count will not be updated to reflect today’s Events that have already passed, until tomorrow.
TIP: Regularly Accept or Decline Invitations to ensure you don’t miss an important upcoming meeting!
If you’re the proposer of an Event, and need to make modifications, edit the Event by going to any Calendar that displays an Event Title link (i.e. Daily, Weekly, Monthly, Agency). Only the proposer of an Event may modify it. Click on the Event Title and make your changes. To re-notify the original Guests of the Event (and any Guests you’ve added), check the box beside Re-invite Guests, at the bottom of the page. Once the Event is re-submitted, the respective employees’ will receive notification via their Unread Messages.
To re-notify the original cc: invitees of an Event, check the box beside (re)cc. Once the Event is re-submitted, the respective employees will be notified via their Unread Messages box(es). If they Accept the Invitation, their names will be moved from the cc: list to the Guest list and you’ll be notified of their intention to attend.