PREPARING A QUICKBOOKS® WORKSHEET
PURCHASE ORDERS
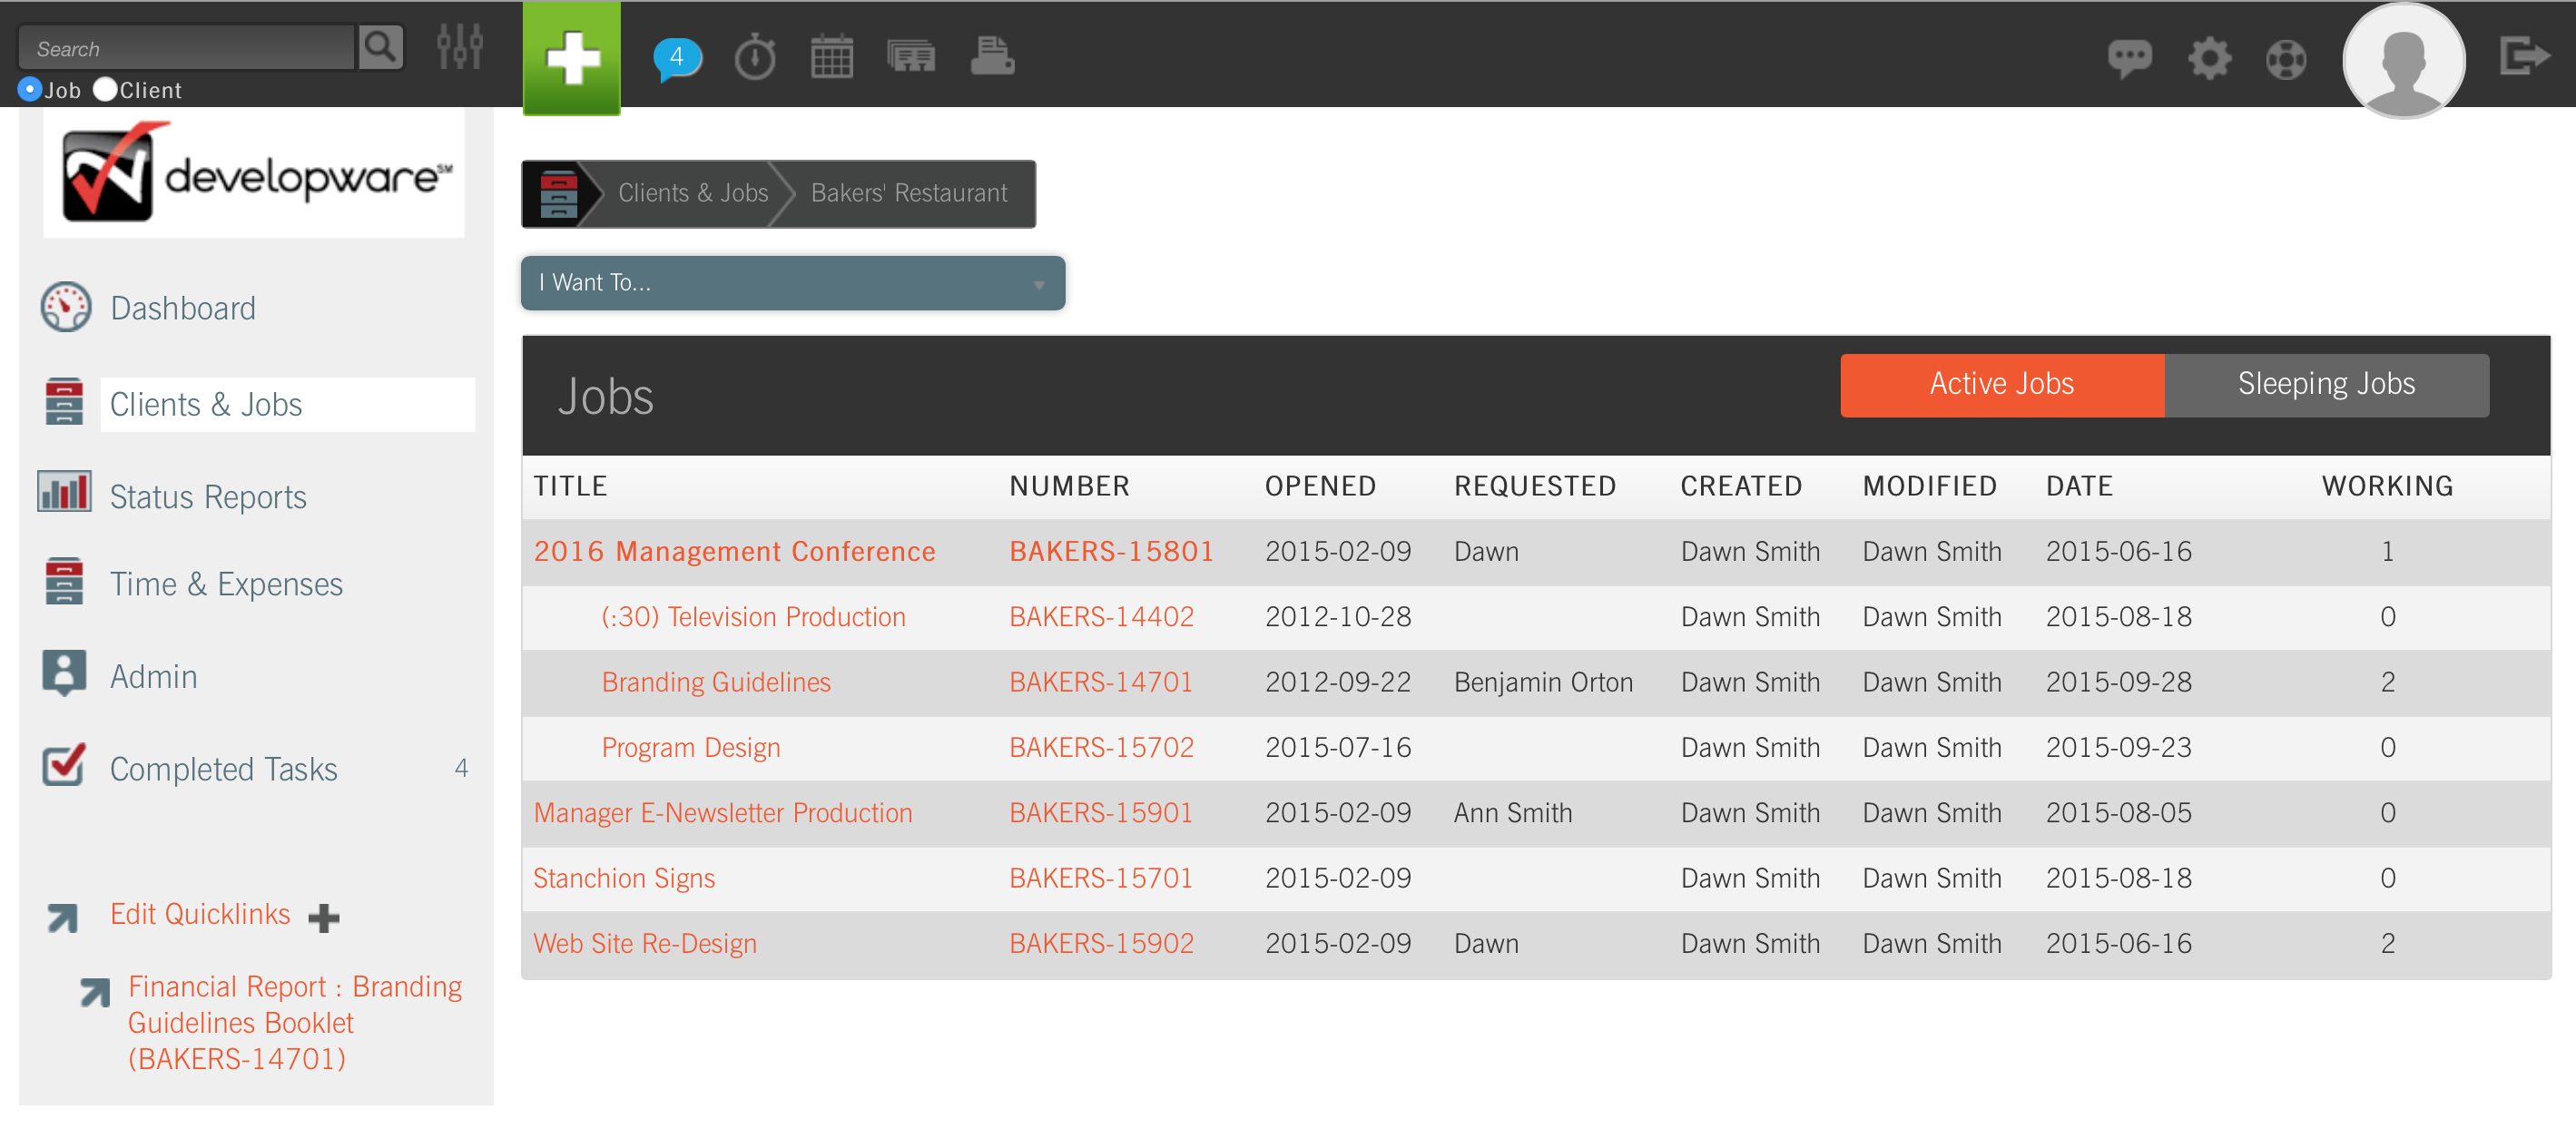
First, navigate to the job by going to Clients & Jobs — Client — Job One Sheet. Once inside the job folder, select Prepare QuickBooks Worksheet from the I Want To: drop-down menu.
NOTE: You must have Permission to Create a QuickBooks Worksheet. To grant access, via the Manage Permissions interface, a System Administrator must go to Admin — System Administration — Manage Permissions. S(he) can then specify which Employee(s) should be allowed to Create QuickBooks Worksheet by entering the name(s) in the field provided.
TIP: Mirror your CurrentTrack and QuickBooks Client names to avoid duplicate account creation.
Purchase Orders (P.O.s) not yet exported to QuickBooks will be displayed in the job’s Worksheet until you’re ready to transfer them. When you’re ready, check the box(es) at the end of the corresponding row(s). If you need to modify the content of a listed P.O, go to Admin — Agency Administration — Manage Purchase Orders. Find the P.O. by using the search criteria provided and make the necessary change(s); Submit. If you’re deleting a line item within the P.O., click on the trash can icon to its far right. Remember, entire P.O.s cannot be deleted, only voided. You may also Edit a P.O. from within a job’s Documents Folder, if you have Permission to Manage Purchase Orders, by going to Clients & Jobs — Client — Job One Sheet — I Want To: Open Documents Folder.

Upon launching the QuickBooks Connector, two things will happen:
1) The entire P.O. will become a line item on an Invoice in QuickBooks.
2) A P.O. will be created in QuickBooks reflecting the same line items as the CurrentTrack P.O., with the exception of the tax field. If you wish to include tax on your QuickBooks P.O., add the tax amount to your Vendor in QuickBooks, just as you would in CurrentTrack.
After export to QuickBooks has been completed, all billed P.O.s will appear in the History section of the job’s QuickBooks Worksheet. If a P.O. total is modified after the export has occurred, an indication will appear in red, at the top of the P.O. History section.

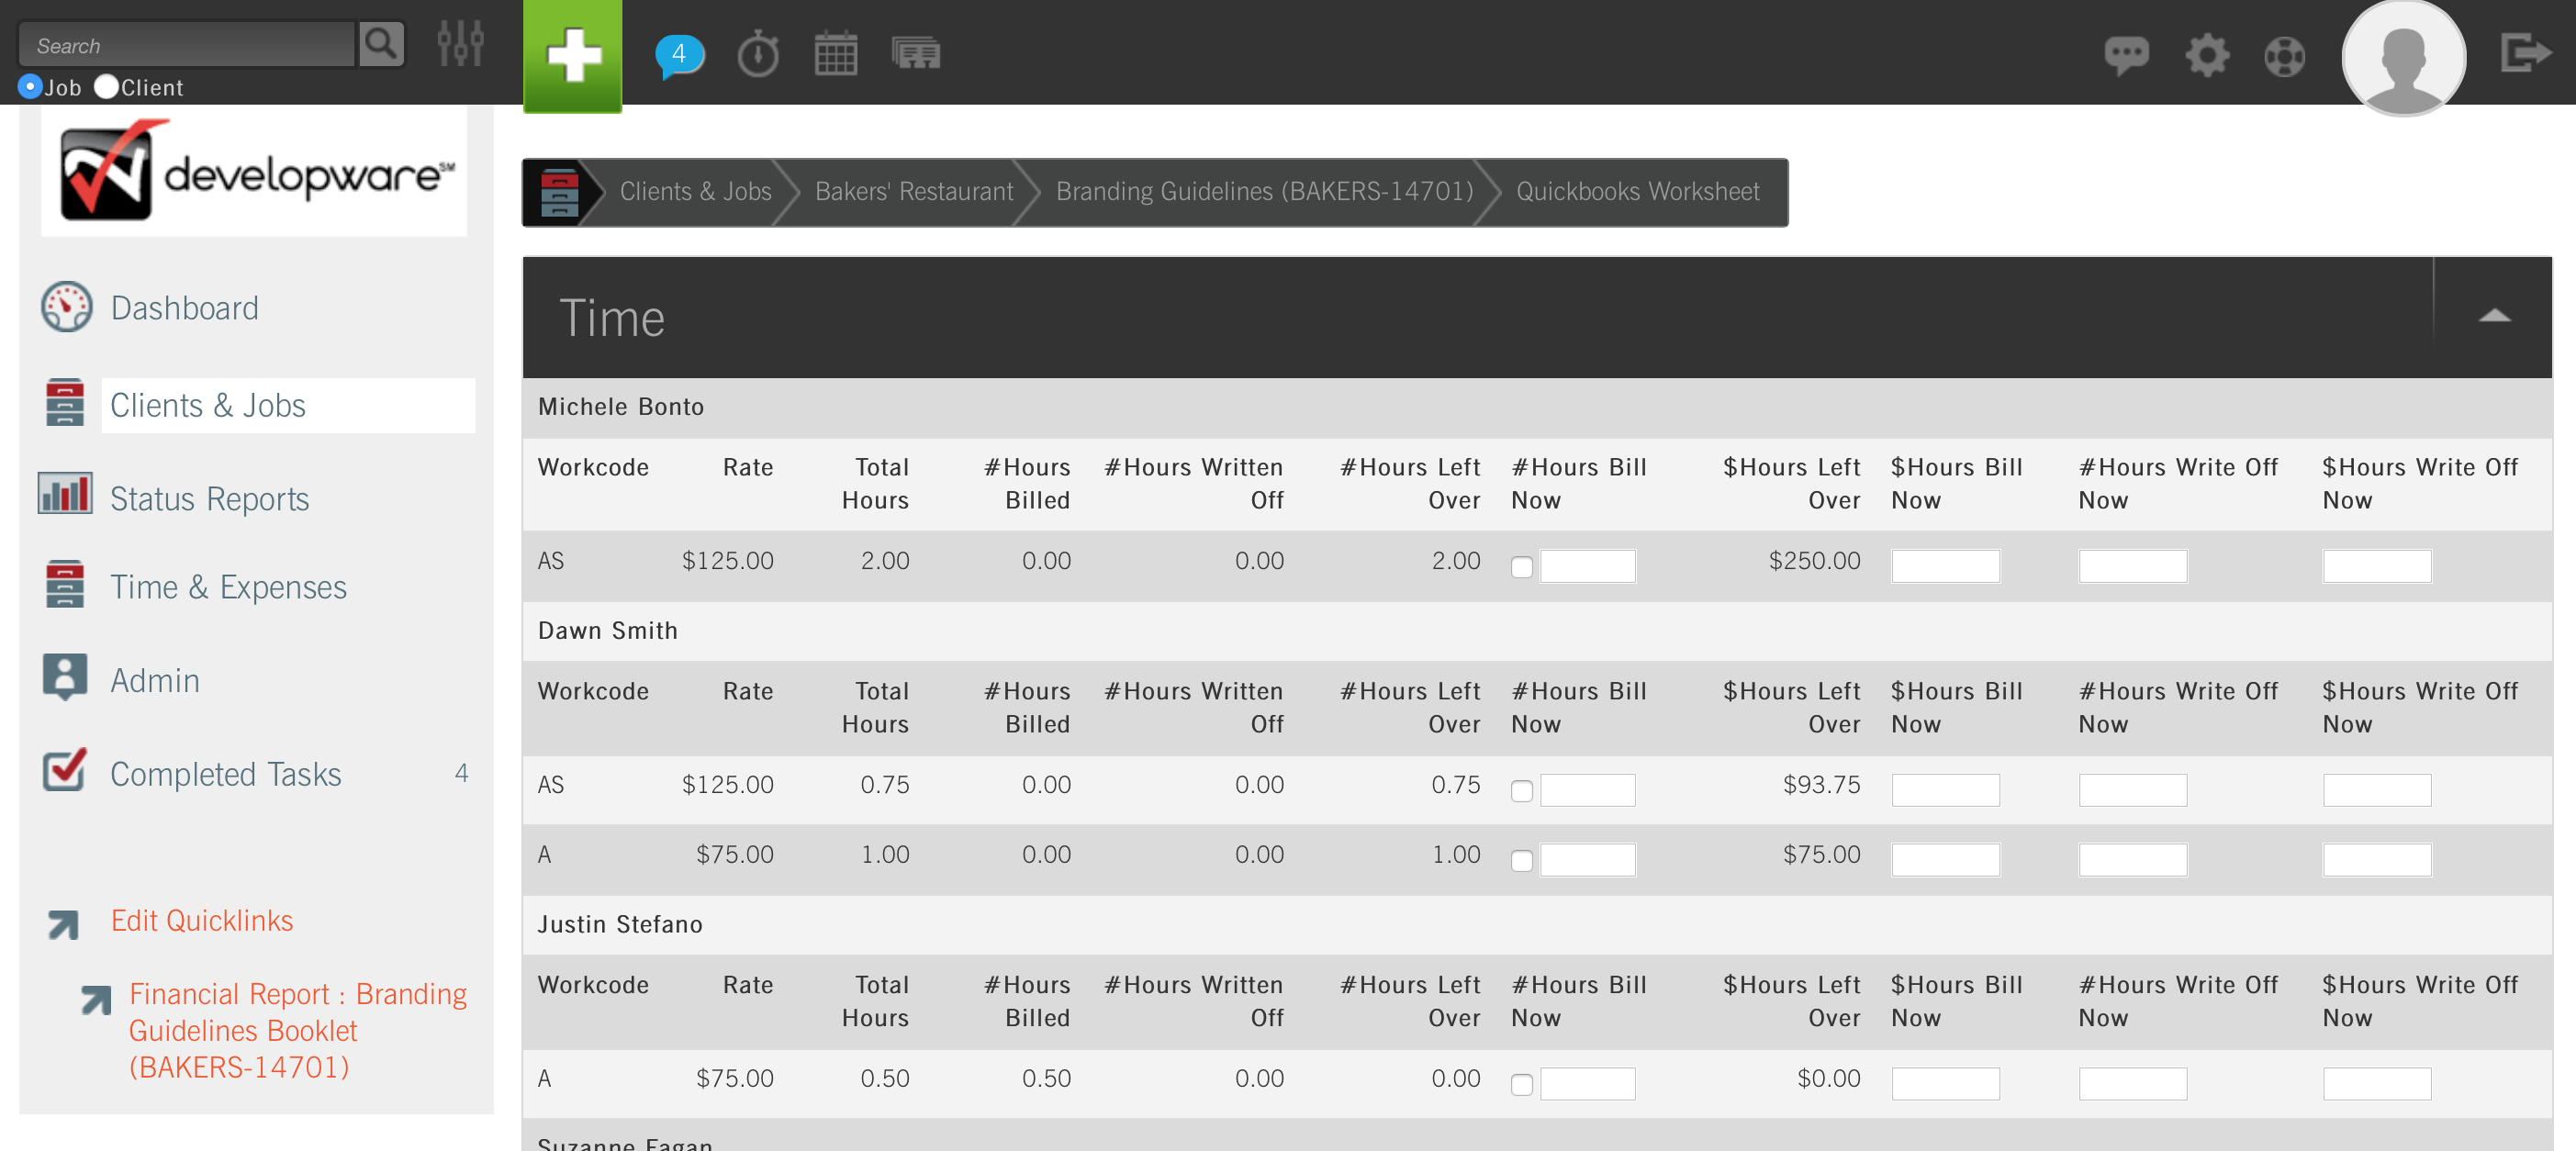
Next, review the Employee expenses associated with the job; do the same for Media. When finished, sync the Worksheet. After submitting the Worksheet within CurrentTrack, it’s not automatically copied into QuickBooks. It’s simply ready for QuickBooks retrieval. Launch the QuickBooks Connector, via either the desktop icon or your Start menu, and click Sync. Progress can be monitored within the Current Sync Progress tab.


By default, CTEXPENSE is the Item Code associated with Employee Expense Report values transferred to QuickBooks. You can overwrite the Item Code with any Code you’d like, but the default Code will still appear in the Billing Entry created in CurrentTrack. For example:


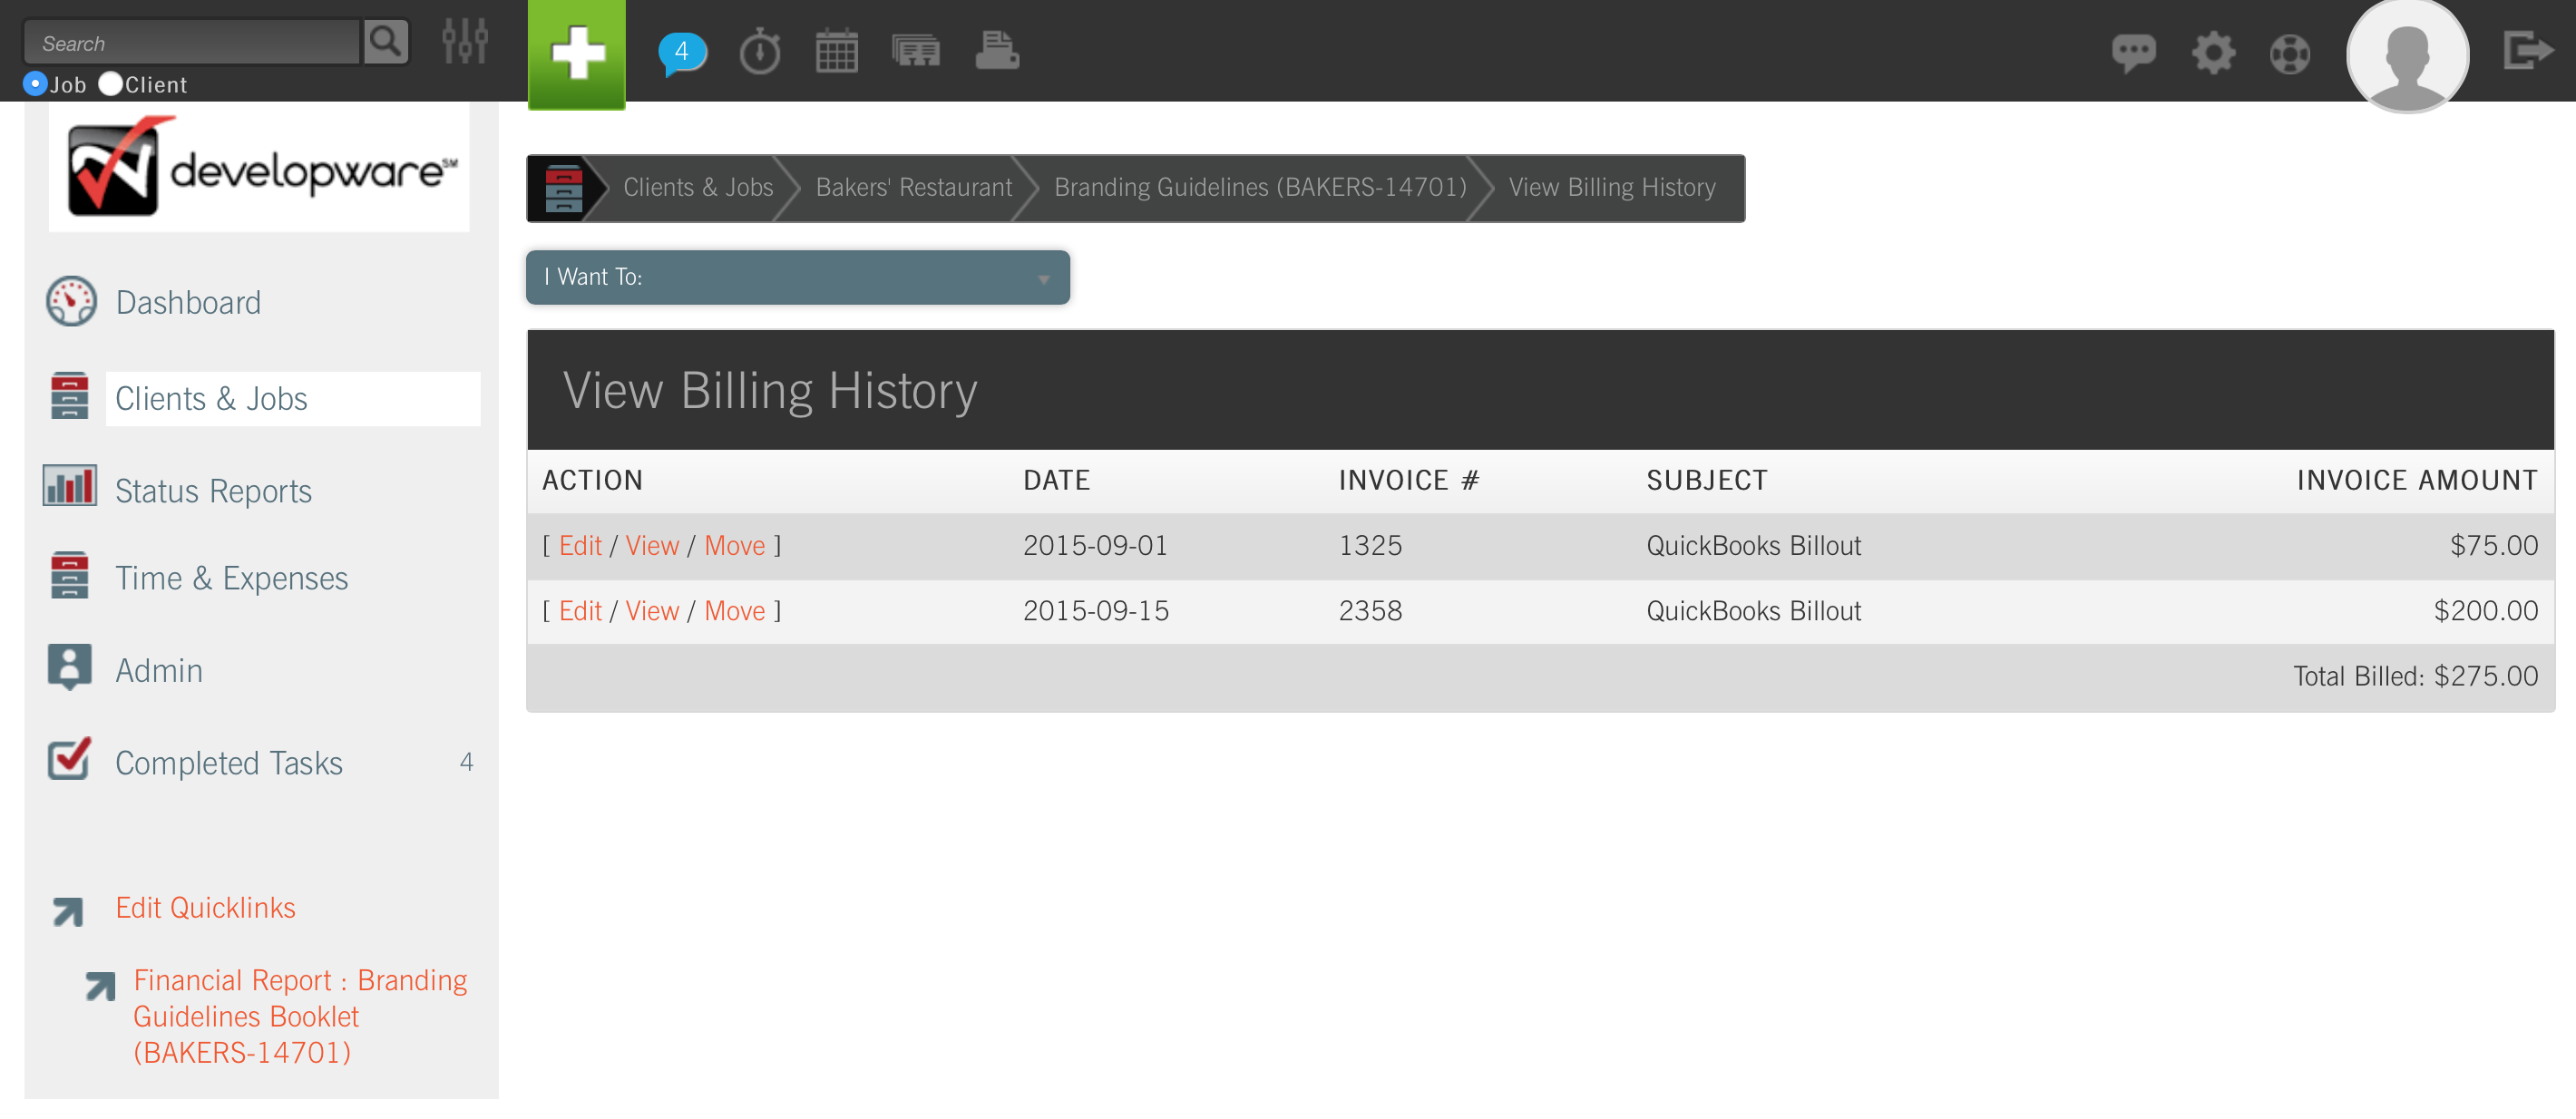
Once you’ve successfully finished the QuickBooks sync, navigate back to the job within CurrentTrack by going to Clients & Jobs — Client — Job One Sheet — I Want To: Prepare QuickBooks Worksheet. At the bottom of your Worksheet, or by clicking View QuickBooks Worksheet History in the job’s I Want to: drop-down menu, you can view everything you’ve submitted and what remains to be sent to QuickBooks at a later date.
NOTE: You must have Permission to View QuickBooks Worksheet History. To grant access, via the Manage Permissions interface, a System Administrator must go to Admin — System Administration — Manage Permissions. S(he) can then specify which Employee(s) should be allowed to View QuickBooks Worksheet History by entering the name(s) in the field provided.
The job’s CurrentTrack Billing History will now mirror the Invoices that appear in QuickBooks, via a corresponding Billing Entry. To view a job’s Billing History, go to Clients & Jobs — Client — Job One Sheet — I Want To: View Billing History. Modifications made to existing Billing Entries (e.g. Amount modified) will not be reflected in their corresponding QuickBooks Invoices.