CONVENTIONS
QuickTIPs (and Links) are highlighted in blue.
Permission-based items are highlighted in red.
System navigation is italicized.
PRINT ESTIMATE
The Print Estimate feeds into the larger Production Estimate, and is an optional way to help calculate production costs. The typically uses this form to report multiple Vendor quotes for the same job.
TIP: Enter a Disclaimer for your Print Estimate via Site Branding (e.g. “The above estimate does not constitute final acceptance of the Job by the vendor. Only after review of specifications and all pertinent information will the above price be considered as accepted. This estimate is subject to all standard trade customs. This estimate does not include creative services such as artwork development, typesetting or proofreading.”).
CREATING A PRINT ESTIMATE
To create a Print Estimate, go to Clients & Jobs — Client — Job One Sheet — I Want To: Create Print Estimate. You can also click ![]() at the top of the screen.
at the top of the screen.
TIP: When navigating via the ![]() menu, the Job field on the initial Create screen is content-sensitive. Enter as many job Title keywords as possible to narrow down the list more quickly and eliminate unnecessary scrolling.
menu, the Job field on the initial Create screen is content-sensitive. Enter as many job Title keywords as possible to narrow down the list more quickly and eliminate unnecessary scrolling.
NOTE: You must include an Item Name for each item in your Estimate (e.g. “Banner,” “Stanchion Sign,” etc.).
You’ll walk through a series of questions in order to build the most accurate form. Remember to enter a Vendor for each Item as well as a Description (e.g. 8-1/2 x 11, 4C) and Lot number. The Lot number is the number of “groups” you’ll be estimating. For example, quantities of 1000, 2500 and 5000 would equal three Lots.
If the Vendor you’re quoting isn’t listed in the drop-down menu, you’ll need to first add their profile to CurrentTrack® by going to to Address Books — I Want To: View Vendor Address Book. Click on the Add Vendor link located at both the top and bottom of the page. Enter the Vendor’s Name, Tax Rate and other details, as well as a few Keywords (e.g. large format outputs, office supplies, etc.). If you try to re-enter an existing Vendor, CurrentTrack will warn you.
TIP: Keep Keywords consistent (e.g. website vs. web site).
On the last screen of the Estimate, enter the appropriate Qty(s). and Vendor Quote(s), as well as indicate whether CurrentTrack should calculate Markup, Tax, or both. The Per Unit Approximation and Our Quote fields will be calculated with rounded dollar amounts. To overwrite the default Markup rate assigned in the Client’s Spec Sheet, simply leave the Markup box unchecked. Enter the desired marked up figure in the Our Quote field.
If you don’t wish for Vendor Name(s) to appear on the Printer Friendly version of the Estimate, for external contacts (i.e. Client, Vendor, Guest), uncheck the box beside Allow Client/Vendor to see Vendor Name(s).
TIP: Avoid using comma + number combinations (e.g. 1,000.00).
A Vendor’s Tax rate is set when initially added to CurrentTrack and may be edited at any time. To edit a Vendor’s Tax Rate, go to Address Books — View Vendor Address Book — Edit.
You may create as many Print Estimates for a job as you’d like. All numbers associated with the line items whose circles to the left of the Qty. field have been filled will be pulled into the job’s larger Production Estimate.
SHARING A PRINT ESTIMATE WITH CLIENTS
If you’d like to share an Estimate with a Client (e.g. a Change Order), at the bottom of its Create (or Edit) screen, indicate the specific Client Viewable User(s). If e-mail addresses have been associated with selected User(s), they’ll appear in the Notify Client by E-mail field once a specific User(s) is indicated. To alert internal Employees via their Message box, simply add their names to the cc: field. External contacts will receive an e-mail that reads:
“The document ‘[Subject]’ has been posted by [Employee] for your review. To view it, please click on the following link and enter the Agency, User name, and Password supplied to you by your agency representative.
[Link]
To provide comments regarding the document, click its corresponding Add Comment link. Should you need further assistance, please contact your agency representative.”
Clients will be directed to the Client Interface where they can sign in using your Agency name and the User name and Password you’ve assigned within their Client Spec Sheet.
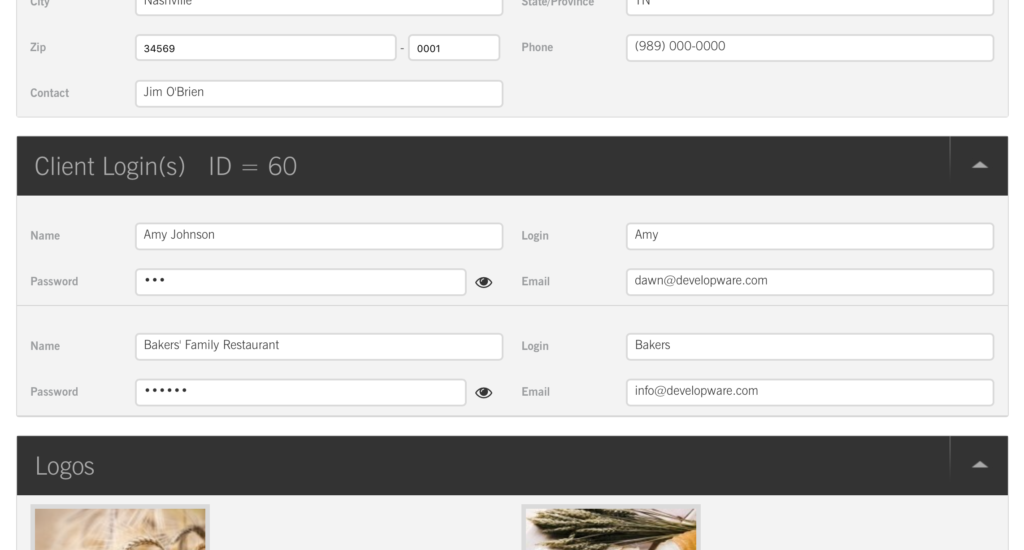
They’ll also need to check the box beside Client and enter their corresponding ID number. This number can be found within the Client Spec Sheet.
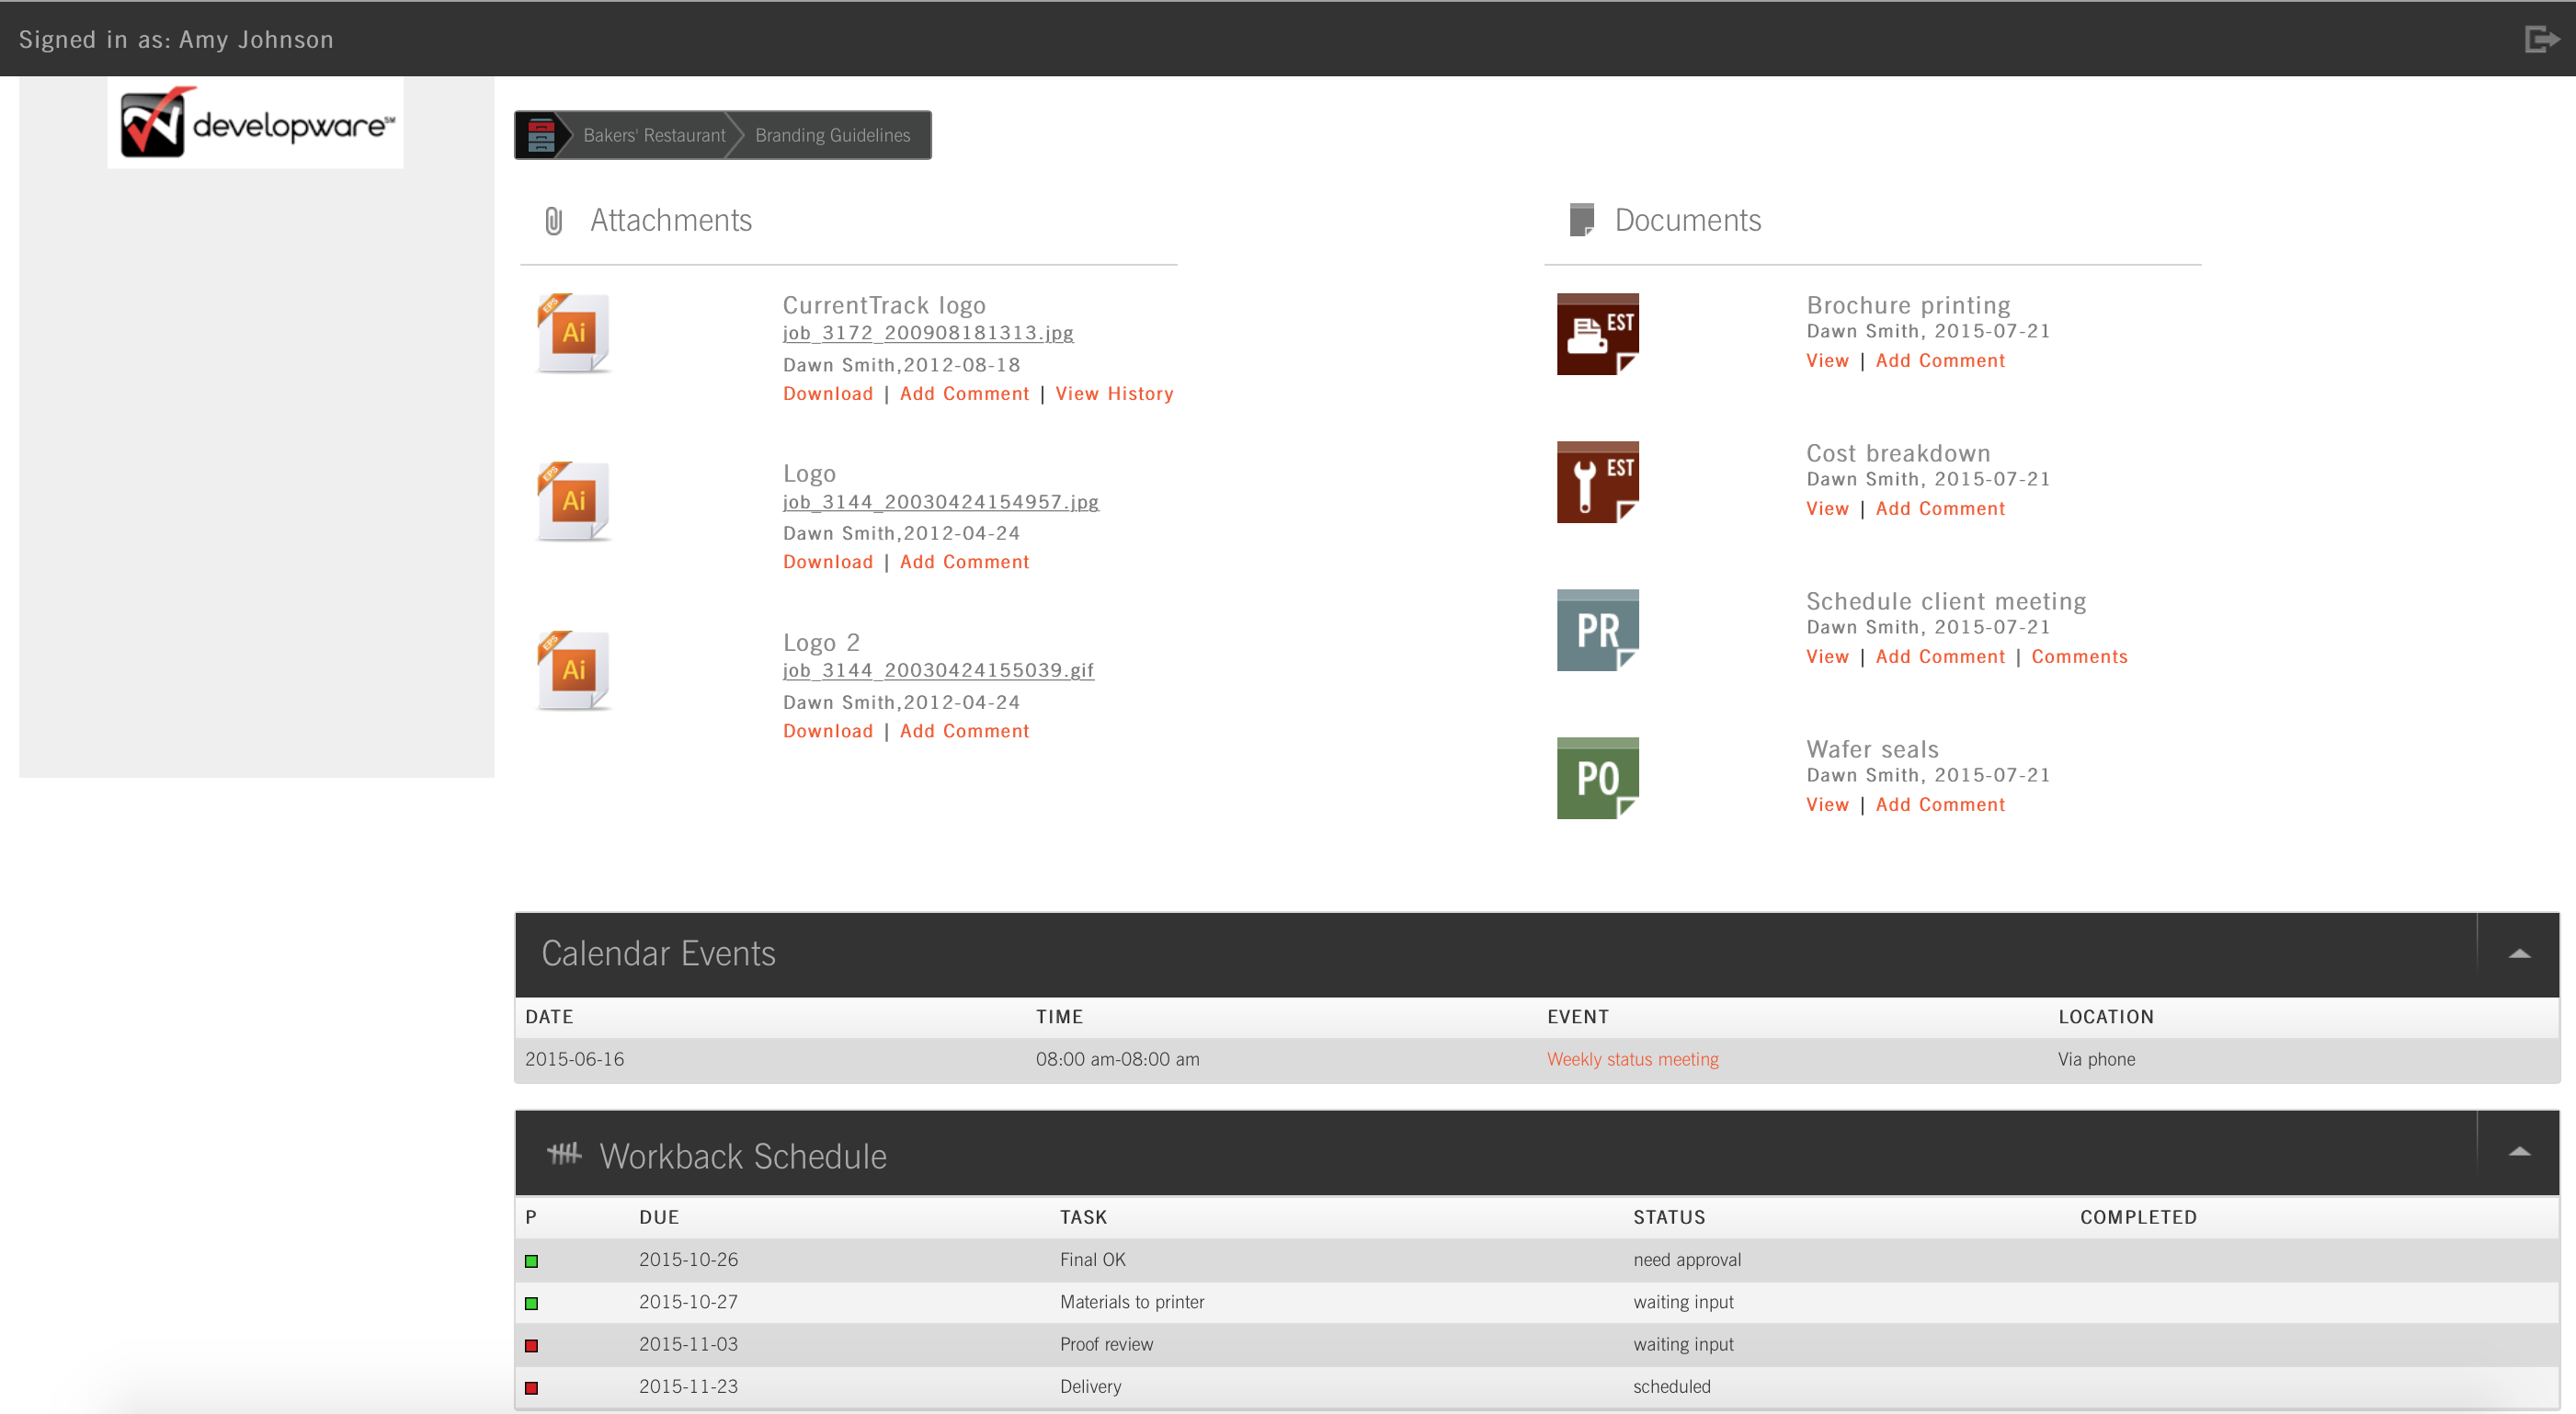
Clients can return comments via the Add Comment links beneath both Attachments and posted documents. Comments are automatically sent to the CurrentTrack Messages box of the Account Executive and Coordinator specified in the Client’s Spec Sheet, as well as Employees listed in the Default and Client-specific Notifications areas. A copy of the Comments are also saved in the [job] Documents Folder, beneath its parent document, and is viewable by everyone in your agency.
SHARING A PRINT ESTIMATE WITH VENDORS
If you’d like to share an Estimate with a Vendor (e.g. a Purchase Order), check the appropriate box beside Viewable, at the bottom of the form. Click the pop-up box to the right of the Vendor User(s) field. The Vendor Address Book will appear. Simply click the appropriate name(s) and close the box. Next, check the box beside Notify Vendor by E-mail. If addresses have been associated with the selected Vendor User(s), they’ll appear in the box. Manually enter (or remove) addresses, separated by commas. To alert internal Employees via their Message box, simply add their names to the cc: field. External contacts will receive an e-mail that reads:
“The document ‘[Subject]’ has been posted by [Employee] for your review. To view it, please click on the following link and enter the Agency, User name, and Password supplied to you by your agency representative.
[Link]
To provide comments regarding the document, click its corresponding Add Comment link. Should you need further assistance, please contact your agency representative.”
Vendors will be directed to the Client Interface where they can sign in using your Agency name and the User name and Password you’ve assigned them within the Vendor Address Book.

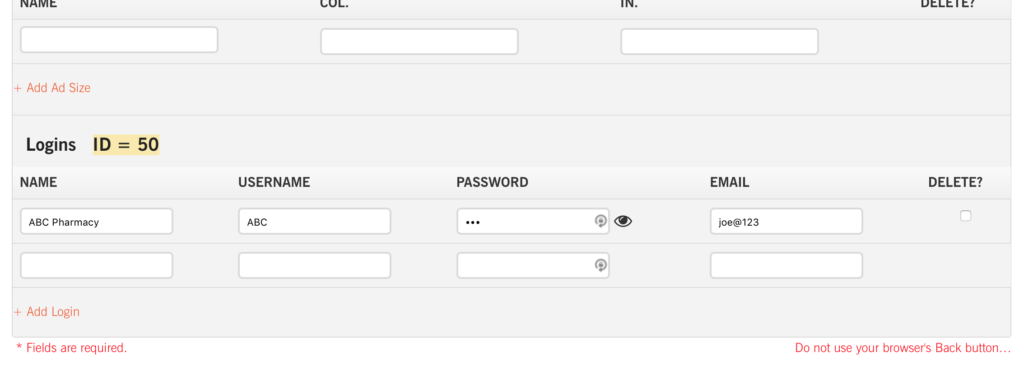
They’ll also need to check the box beside Vendor and enter their corresponding ID number. This number can be found within their Vendor Address Book profile.
Vendors can return feedback via the Add Comment link located beneath each posted document. Feedback is automatically sent to the CurrentTrack Messages box of the Account Executive(s) and Coordinator(s) specified in the Client’s Spec Sheet as well as to Employees listed in the Notifications areas. A copy of the Feedback is saved in the [job] Documents Folder, beneath its parent document, and is viewable by everyone in your agency.
EDITING A PRINT ESTIMATE
To edit a Print Estimate, go to Clients & Jobs — Client — Job One Sheet — I Want To: Open Documents Folder.
Click the Edit link beside the Estimate. Once the Account Manager has conveyed which option is preferred, select the circle beside the appropriate line item(s). The figure(s) will automatically be pulled into the larger Production Estimate; click Submit.
VIEWING A PRINT ESTIMATE
To View a Print Estimate, go to Clients & Jobs —Client — Job One Sheet — I Want To: Open Documents Folder.
Click the View link beside the Estimate. To view its Printer Friendly version, click the printer icon in the top left corner of the screen.
If external notification has been sent to a Client or Vendor, they’ll be directed to the Client Interface where they can sign in using your Agency Name and the User Name and Password you’ve assigned them within either the Client Spect Sheet or Vendor Address Book. External users can return comments via the Feedback link located to the left of each posted document. Feedback is automatically sent to the Unread Messages box of the Account Executive(s) and Coordinator(s) specified in the Client’s Spec Sheet, as well as to Employees listed in the Notifications areas. A copy of the Feedback is automatically saved in the [job] Documents Folder, beneath its parent document, and is viewable by everyone in your agency.
MOVING A PRINT ESTIMATE
If you happen to misfile a Print Estimate, go to Clients & Jobs — Client — Job One Sheet — I Want To: Open Documents Folder.
Click the Move link beside the Estimate. Fill in the correct Job Number and click Move Document.
DELETING A PRINT ESTIMATE
To delete a Print Estimate, go to Clients & Jobs — Client — Job One Sheet — I Want To: Open Documents Folder.
Click the Delete link beside the document. At the prompt, click OK. A Production Estimate can also be deleted from within the document itself. Simply click its Edit link and, once inside, click Delete This Report under Application Options, at the bottom of the page.
SCENARIO
How do I create a Print Estimate for multiple items, each with multiple quantities and Vendors?
You can easily include said quotes in one Estimate (e.g. balloons and banners with two Vendor quotes each).
On the first screen (How many items will you be printing?), enter four. This represents Balloons with Vendor #1, Balloons with Vendor #2, Banners with Vendor #1, and Banners with Vendor #2.
On the next screen (Item Name, Description, Lots, and Vendor), enter the number of Lots you’re quoting for each Item/Vendor. For Item #1 (Balloons with Vendor #1), you might have two different quantities (1000/2500). Your Lot number would be two. For item #2 (Balloons with Vendor #2), you might have three different quantities (1000/2500/5000). Your Lot for this Item would be three and so on.
On the third screen (the detailed breakdown of what you’ve entered thus far), enter the Qty(s). and Vendor’s Quote(s). The Per Unit Approximation will be auto-filled. Next, indicate if Items should include Markup, Tax, or both. The Our Quote field will again be auto-filled.
Before submitting the Estimate, you have the option of recommending which Item(s) the Account Executive should consider sharing with the Client. To select an Item, fill in the small circle located to its left. When the Account Executive later creates a Production Estimate for the Job, the Item(s) you’ve indicated will be pulled into the Print Estimate section. As the creator of the original Print Estimate, you can de-select and re-select Items and your change(s) will be automatically reflected in the corresponding Production Estimate.
Lastly, there’s a Notes field at the bottom of the page for any additional comments you might have.
SCENARIO
Can I divide the information in a Print Estimate into multiple Production Estimates under the same job?
Ideally, each job only contains one Production Estimate. You may, however, create more than one Print Estimate. All numbers associated with the Items whose circles to the left of the Qty. field have been filled will automatically be pulled into the Production Estimate once created by the Account Executive, for example. If you were to create a second Production Estimate, under the same job, the Print Estimate numbers would again be pulled over. There would then be two Production Estimates bearing the same Print Estimate figures and your numbers would be inaccurate.
If you were only modifying the number of Creative Hours, for example, in your Production Estimate and sending one version of the Estimate to the Client and one to someone else who needed to see slightly different numbers (but still see the same Print Estimate information), this wouldn’t be a problem.
If you were creating two Print Estimates (e.g. one for banners and one for flyers) under the same job and then hoping to pull the banner information into one Production Estimate and the flyer information into another, you wouldn’t be able to do so. CurrentTrack doesn’t allow users to specify which Print Estimate Items are pulled into which Production Estimate(s). If you wanted to pull the banner information into one Production Estimate and the flyer information into another, for example, you’d have to open another Job (e.g. 2014 Flyers) and enter the information under it in order for its Production Estimate to solely reflect the desired numbers.
SCENARIO
How can I enter a quote request for a Vendor in CurrentTrack?
A Progress Report titled, “Request for Quote” will work well as it’s automatically filed in the [job] Documents Folder. A PDF of its Printer Friendly version can also be uploaded to its Attachments Folder. The Vendor can then go to www.CurrentTrack.net and log in using the information assigned to them. S(he) can download the document and provide Feedback (perhaps even the quote itself) via its accompanying Feedback link.
A second option would be to create a “Bid Request” Document Template. Once created, simply navigate to the job’s folder and Create Bid Request, making it Viewable to Vendor(s). Again, the Vendor(s) can log in to the Client Interface and submit costs via the corresponding Feedback box.
Once all quotes have been received, create a Print Estimate. Upon approval, Edit the Estimate and check the desired Qty. box. You can then submit a Production Estimate, reflecting both time and expenses for the job. If you’ve chosen a Qty. in the Print Estimate, printing costs will automatically flow into the Production Estimate.